HOW TO PORT A SEALED SUB BOX?
Hi there! Today my under-discussion topic will cover how to port a sealed sub box. Porting a sealed chamber can considerably enhance the performance of your subwoofer.
However, it is not compulsory, but ported enclosures are chosen over sealed ports for creating louder bass. So, without wasting more time, let’s dive into how to port a sealed sub box.
Sealed Enclosure

In a sealed enclosure, there are no openings, making it very easy to assemble while being slightly efficient since airflow cannot truly happen via the subwoofer.
Some people can’t notice this slight difference in sound quality while listening to their favorite music, so it is considered OK.
Ported Enclosure
Bass Reflex Enclosure is the other name for a ported enclosure. It is an enclosure with a hole in it. This will give your woofers more power, permitting more airflow via the port than through the woofer itself.
This will boost its efficiency and make it feasible for you to play your tunes at a lower volume while having more sound out of it.
How To Port a Sealed Sub Box
I’ll explain how to port a sealed sub box step by step. So, stay tuned! And carry on reading the article.
1. Enclosure Calculations
Assemble your sealed enclosure according to the enclosure calculations ( external dimensions, port dimensions, tuning frequency). Use MDF or another solid wood for this procedure.
2. Measuring the Volume
After building it, gauge the volume of the box with water utilizing a graduated cylinder. It will provide you with a cubic inch in your sealed box.
3. Putting Formula
Now you have to use the following formula to confine
how much your ported box should be.
Enclosure Volume= 1 / (1/n)(-2_Q_pi(Fb_SQ)_)))
where n represents the number of boxes, Fb= tuning frequency, and SQ =system Q. So, we are dividing the inner volume of the sealed box by 1 over the number of boxes.
4. Sketching your Port
The next step is to sketch out your port on a piece of paper. The port is supposed to be half as long as the width of the inner enclosure and has quarter-inch sides.
Ensure rounding off the edges. Sketch the port, so it adheres out at least an inch inside the enclosure, and the ends are supposed to be flushed with the end of the box.
5. Cutting the Ports
Now, cut out the port you sketched before on a piece of paper and use it as a stencil to cut your real ports. You have to be very careful in cutting the real ports. They should not be cut too deep into your enclosure.
When you are done with cutting all four ports, now it’s time to use the SWR meter to measure each one at the tuning frequency of the enclosure. Keep on reading! You are very near to the answer to how to port a sealed sub box.
6. Placing the Ports
Once you are sure that your ports have been cut properly, stick them into place with some waterproof glue. Wait till they dry. Now, grab a router and round off all the edges inside the box.
7. Seal the Edges
Once you are done with that, seal the edges with silicone caulking. Ensure not to use too much silicone as it will not only squeeze into the sub’s motor but also kill its magnetic field.
8. Attaching Terminals
Attach your subs behind the box and put a the big thing on top of it.
9. Attaching Subwoofers
Attach your subwoofers to the box and put a big thing on top of it. This act will not only pursue the pressure on it but also block any leakage if remaining.
10. Screwing the enclosure
The next step towards how to port a sealed sub box is to cut a circular hole in the mat with the help of a utility knife. Now, Screw your enclosure into the trunk of your car.
In case of the sealed enclosure, ensure that the screws should not be overtightened as this will deprive the threads and destroy your enclosure.
11. Testing
Now here you go! for a test when you are done with all that
settings. Connect your subwoofer with an amp and play your tunes. To avoid any mess with the sound, just ensure the uncovering of the ports.
12. Enjoy your MUSIC
If you notice nothing wrong while testing,
CONGRATULATIONS! You have completed your concern about how to port a sealed box. Now you will notice louder bass and reduced port noise. ENJOY YOURSELF with your favorite music.
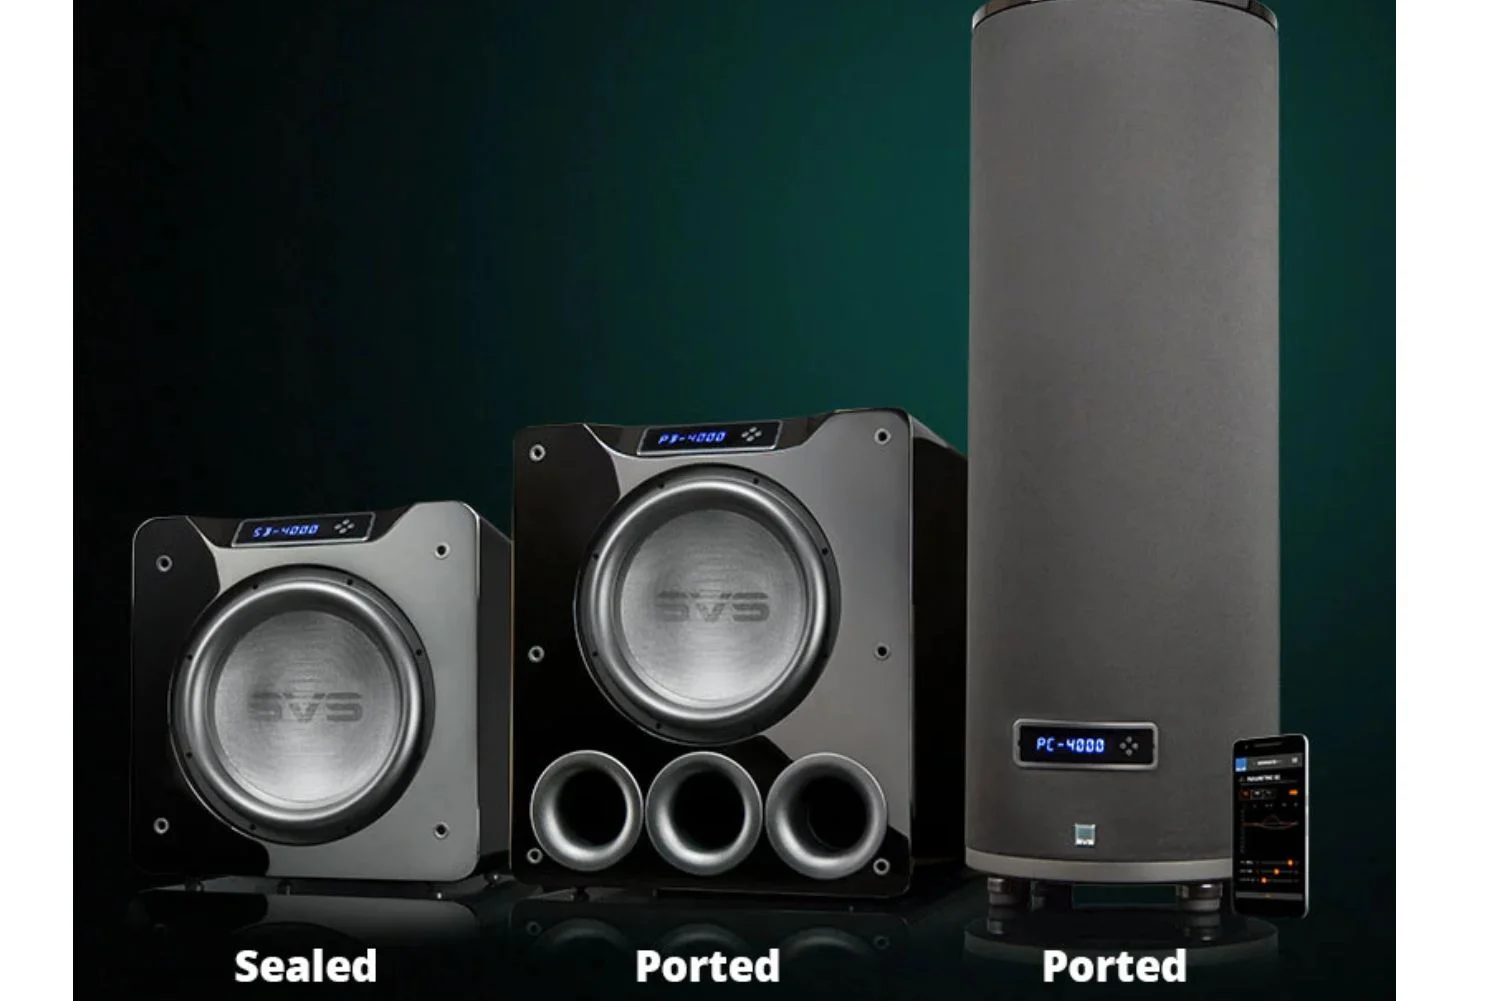
What would you prefer: a Ported or Sealed Box?
It depends! What do you desire to achieve in the end? If your concern is SPL, go for a sealed enclosure but if your main goal is the quality of sound, go for an expensive port.
Kinds of Subwoofer Box Impacts the Bass Sound
Two kinds of subwoofer box are below:
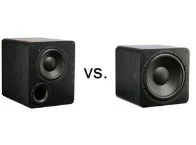
Sealed Box
● Tighter
● Bass is more accurate
● box’s size is smaller
● Requires more power for louder bass
Ported Box
● Boomier and louder
● Less accurate
● box’s size is smaller
● More efficient and doesn’t require as much power
Porting a Subwoofer Box Enclosure:

CONCLUSION
I tried to cover up all the necessary steps to wrap up how to port a sealed sub box. By following the steps mentioned earlier, you can easily complete your project.
Furthermore, I also mentioned the preferably used port regarding your need. So, I hope that this article helps you all with how to port a sealed sub box.
Reference(s):