How to Check Car Amplifier with a Multimeter?
Don’t have loud music in your vehicle? No more worries! All you need is a good amplifier for your car’s stereo system. Amplifiers heighten the audio system voltage and make it effective to run tremendous speakers and woofers. If you’re searching for proper guidance in testing your amplifier’s underlying issues, you are at the right place!
In this article, I will provide you with a comprehensive guide on how to check car amplifier with a multimeter. Your favorite music is incomplete without outstanding speakers.
Amplifiers struggle with aftermarket speakers, receivers, and subwoofers to bring you the crystal clear sound of your favorite music. Now without getting more delay, let us look into how to check car amplifier with a multimeter.
Components of Amplifier
Before getting into how to check car amplifier with a multimeter, let’s discuss a little bit about amplifiers and multimeters.
So basically, an amp has three parts:
Power
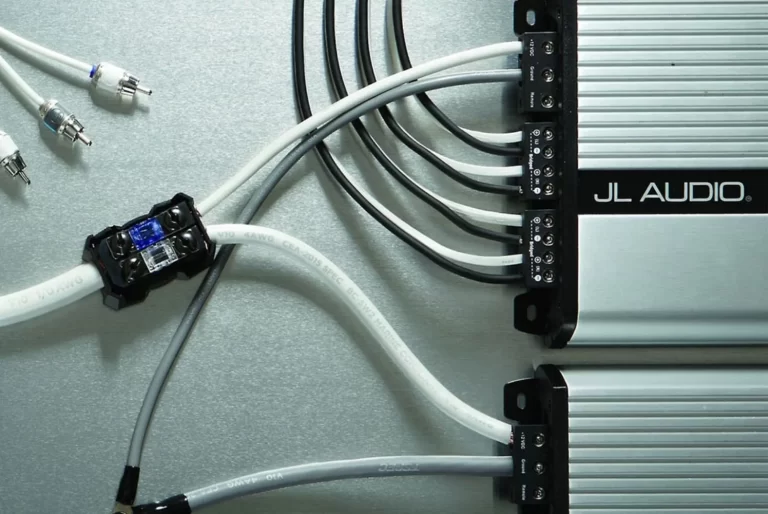
It comprises the 12V power that comes from the battery. The ground wire is attached to the chassis ground. The remote turn on the wire that turns the Amp on relies upon if the remote wire has 12V on it or not.
If your amplifier has the valid 12V and ground but does not turn on, then make a quick check on the remote wire and fuses.
Input
Your input signal commonly comes from low voltage RCA wires. The reason behind it is that your amplifier just needs a minor amount of sound signal. That’s why it possesses a headroom that will help clean up, process, and expand it with the least distortion possible.
Some amps in the market offer a high level of input options, but they commonly do not transmit the most incredible audio.
An easy method of testing your Amp is to check if its input is working or not by using a headphone jack to RCA. Plug your phone into the headphone jack and play a song while your headphone is on.
If there is any difficulty in hearing the audio, there is something wrong with your amplifier, and maybe it’s an internal defect.
Before discussing how to check car amplifier with a multimeter, look at what a multimeter is.
What is a multimeter, and how does it work?
Checking your car amp is not a big deal and not a challenging task. A multimeter is used to measure the electrical voltage between two points. Multimeters help measure resistance, current, and voltage in an electric or electronic circuit.
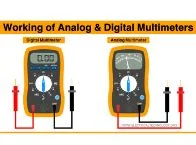
Two kinds of multimeters are available in the market; Analog and Digital multimeters.
1. Analog Multimeter
These multimeters are affordable but difficult to use, particularly for a beginner, as it is difficult to read the results correctly, mainly on a resistance scale. They have a needle along a scale.
2. Digital Multimeter
These are more common because they are user-friendly and indicate outcomes in digits; thus, they are easy to use. Moreover, it has two coded wires. One is red, a positive terminal, which is supposed to be connected to the current, resistance, and voltage.
The other is black, a negative terminal that is supposed to be connected to the common or ground port. The multimeter also contains two probes for holding testing connections.
Both the multimeters have advantages and disadvantages too. So, it is up to you to choose the one you can work with.
Furthermore, there are cues used in technology to deliver a connection point. Generally, your connection is proper, but it still doesn’t work. Consequently, it would be best to utilize a multimeter to check your car’s Amp.
Moving on to how to check car amplifier with a multimeter. Here is an easy way discussed below:
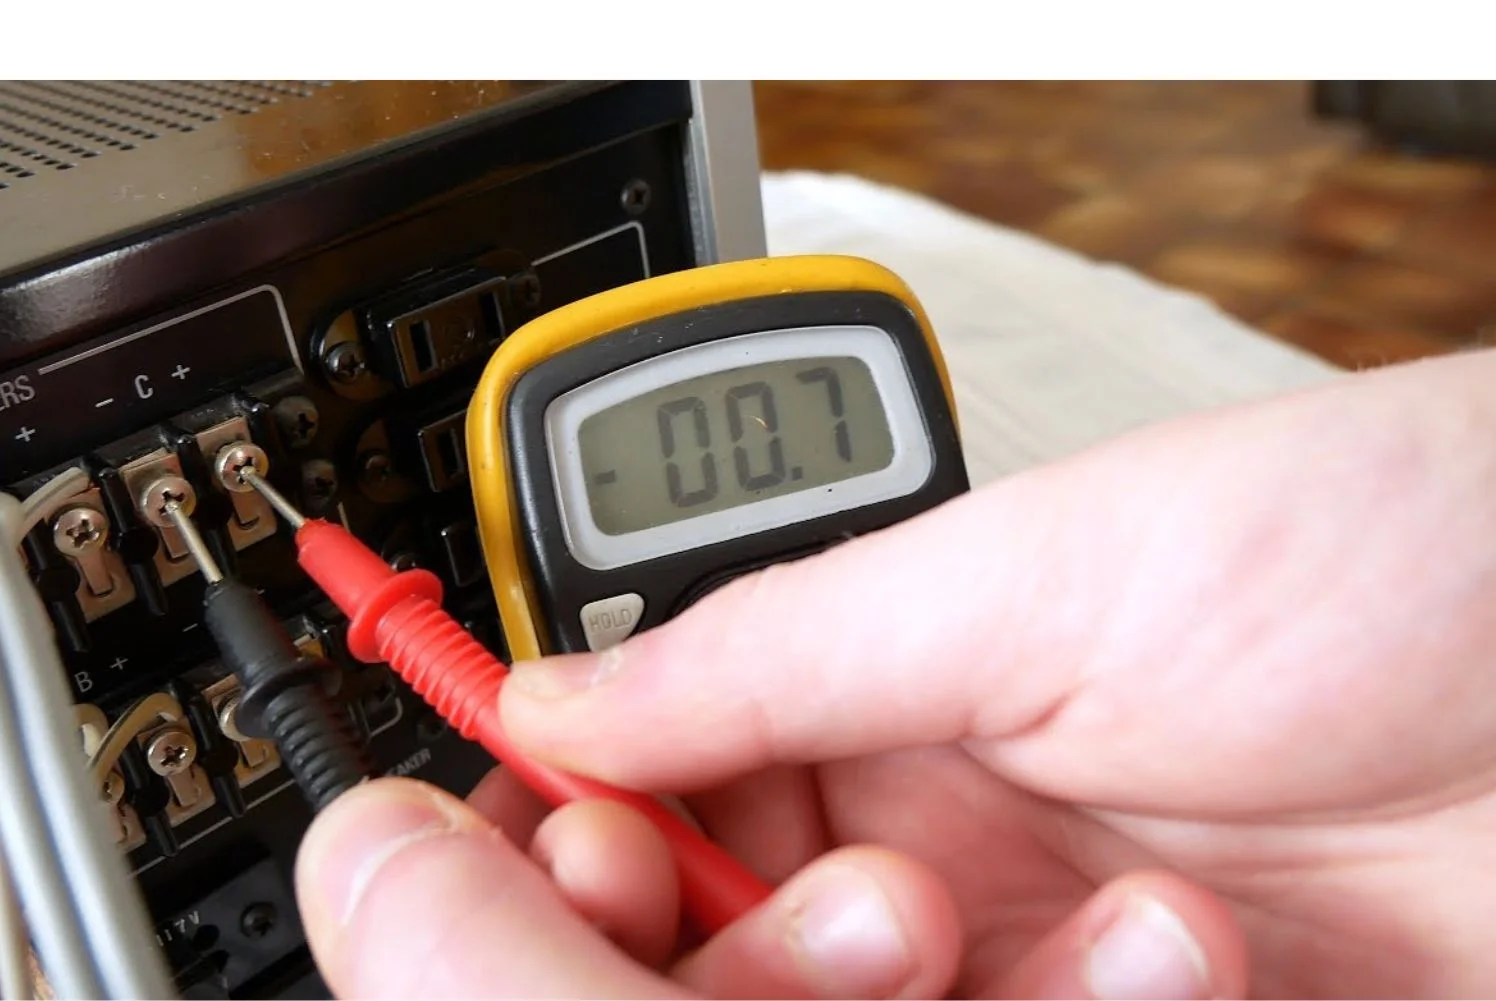
How to Set a Multimeter to Check Car Amp
All you need is a good and high-quality multimeter to get accurate results. You can grab it from any electric store or shop it online. The next step is to ensure that your multimeter is set up accurately.
A multimeter should limit the maximum voltage and currents it can put up with. You are not presumed to exceed its limit.
1. Direct voltage-current(VDC)
First, set your multimeter to VDC. As you know, the digital multimeter is distributed into various settings like VDC and VAC. You will use a VAC setting to test home power supply appliances. On the other hand, a VDC setting is required for checking your amplifier.
2. Turning the knob
The next step is turning the knob over to be the VDC setting until it attains the 20V mark. The basic purpose of setting the multimeter at the VDC 20V mark indicates that it can calculate up to 20 V of direct current.
3. Testing of voltage
It’s time to test for voltage at the live and ground. You have to use the power and ground probes on the multimeter to test the voltage at the positive and ground terminals.
Consequently, it will show a value between 11V-14V, relying on your charging system, or barely higher. The thing to notice here is that testing your amplifier depends on its issues. Rather it has a power supply issue or a speaker issue.
With the assistance of multimeter probes latched to your Amp’s power and ground, turn up the volume and check if you can detect any voltage drop. A voltage drop suggests a power issue.
Thus, check the signs of physical defect in the power supply line from the battery and that the connection points to the battery.
4. Set the wires
As I mentioned above, there are two types of wires. It’s time to set those black and red wires.
I suggest you plug the black wire (ground wire) into the standard circuit and the red wire (amperage wire) in the socket with caption A. Set the provided amperage to the setting by rotating the central dial in with the socket.
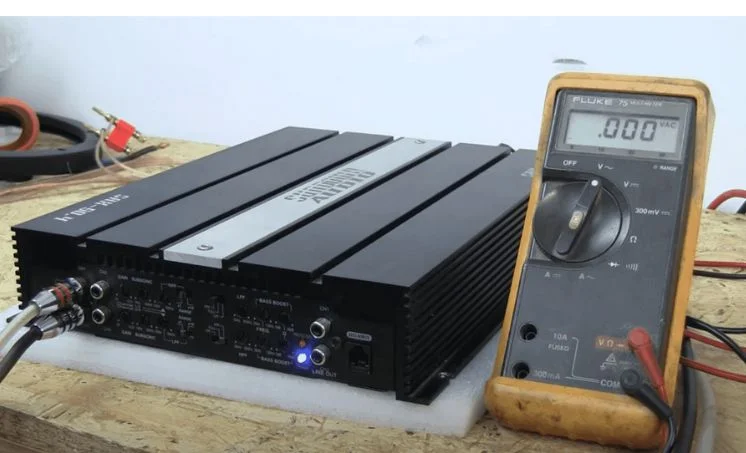
How to Check Car Amplifier With a Multimeter
After configuring your multimeter appropriately, you can now test your Amp by using it. But for this, you have to pursue the following steps.
1. Amplifier Location
Most of the cars have pre-installed amplifiers, and their location may depend on the model of the car or the company. So the first, right away, you have to find the location of the Amp.
It might be your car’s amps are behind the seat, on the dashboard, or anywhere else. You can find the exact location of you in the built Amp by the car’s manual.
2. Testing Fuse
Ensure that the car’s amplifier fuse is in good working condition. You can test the voltage of the Amp to analyze if it’s working.
3. Testing the amplifier’s safety mode
Your Amp goes into safety mode for various reasons like incorrect installation, improper wiring connections, and the result of any internal defect. You should test your Amp by detaching all the connections and switching it on.
Once you’re done with detaching, connect your Amp with the multimeter and test your Amp’s voltage via connecting wires.
4. Verifying Results
Test and ensure that the voltage coming out of your Amp is right. Settle your multimeter on AC mode. Set one probe on one speaker and the second probe on the other speaker terminal. Narrowly raise the volume.
The reading of the voltage should increase as the volume rises. You can also take help with the power out and power in terminals. Set the multimeter probes on the positive and negative terminals. Shut down your engine. By turning it on, the multimeter should raise and read 12V.
How To Check Car Amplifier With a Multimeter?

Conclusion
From this article, you fully know how to check a car amplifier with a multimeter. I hope this article will help you in the times when car audio systems are more complicated than ever. However, it doesn’t mean that there is no way to get the most out of yours.
Reference(s)
![How To Reset Pioneer Car Stereo? [Step-by-Step Comprehensive Guide]](https://carstereoplayer.com/wp-content/uploads/2021/09/Untitled-design-2021-09-26T112513.443-768x428.jpg)